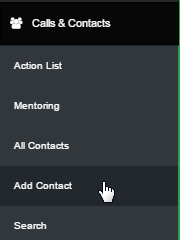
Click on Calls & Contacts on the left hand menu to expand the list and then click on Add Contact sub-menu.
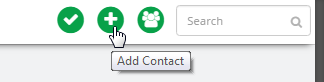
Note: Clicking on the plus icon (quick-link) on the top left corner will also redirect you to the Add Contact page.
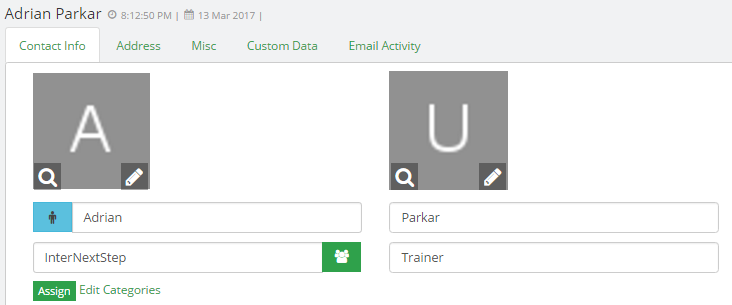
This is where you can add new contacts into the system. Simply, fill up the contact form and click on the Quick Add button below. To add more information for the contact, click on the More Details link to expand the form.
Enter the Firstnameand the Lastname of the contact. It is mandatory to provide the first name of the contact.
Provide a Title (if any) for more specification. For example, Doctor, Trainer, Chairman, Writer, Employee, etc.
Enter the active Email address and Cellular/Mobile number (prefix the country code for foreign contacts).
Select a email campaign from the Subscribe To drop-down list for which you want the contact to subscribe to.
Select the Timezone from the drop-down list. This will automatically synchronize the local time of the contact.

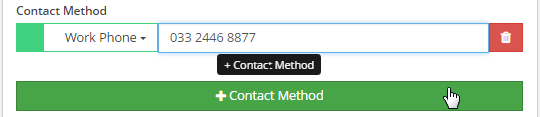
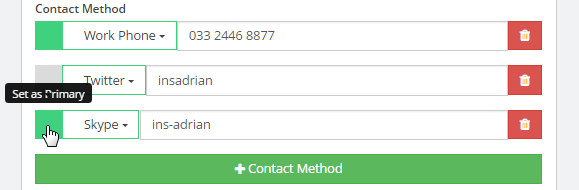
Contact Methods feature lets you add more contact types and specify the primary type for communication.
Click to open the drop-list (next to the green box) and then select the Contact Method to want to add.
Type in the contact details in the box provided. To add more, click on the + Contact Method button below.
You may wish to add as many contact methods available for that person in the similar way as explained above.
Click on he green box (preceding to drop-list) to set a contact method as the primary one (it will appear first).
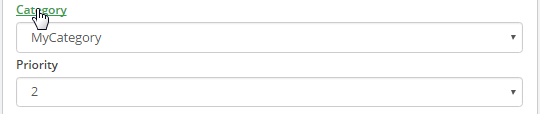
Select a Category type and the Priority from the corresponding drop-down list that suits the contact best.
If you do not find a suitable Category you are looking for, you can create one in the Contact Categories page.
To create a new category or edit an existing one, click on the Category link to go to the Contact Categories.
.
Company: Enter the name of the company or the organization that the contact represents.
Address: Enter the primary address of the contact, i.e. street name, house number, etc.
Address 1: Enter an alternative address or if the primary address is a complicated one.
City: Enter the city or the town in the which the contact/person resides or belongs to.
Country: Select the country from the drop-list in the which the contact/person belongs to.
Zip/PostCode: Enter the ZIP (Zone Improvement Plan) code or the postal code of the region.
Province/State: Select the state/province. This field gets refreshed with the chosen Country.
Other State: Enter the state/province name, if you do not find the option in the above list.
Gender: Click on the appropriate radio-button to select the gender of the contact/person.
Next follow up date: Set the date for next follow up to be scheduled (system will remind you).
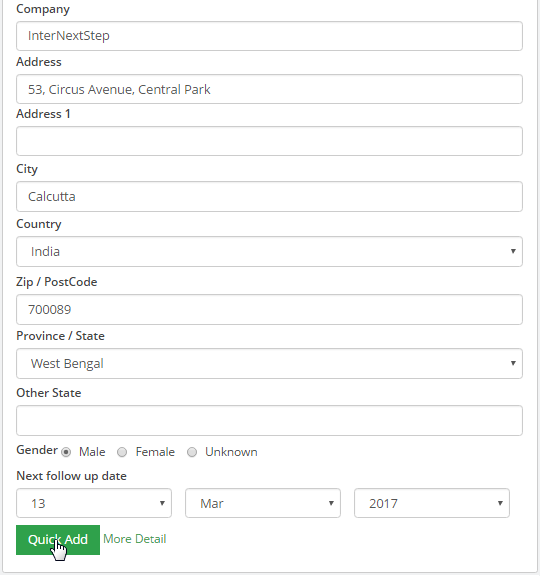
On submitting the details i.e clicking on the Quick Add button, you will be redirected to the Contact Manager page for the contact you have just added. In the Contact Manager you can then set up the rest of details.