In our previous training email you have learnt how to set up the After Survey page of the Sales Funnel. For a recap, After Survey contains your contact details, other videos, or any other information you wish to share.
Today, we are going to educate you on how to set up the After Opt-in page of the Funnel. The setup is almost similar to that of the previous page. Before we start let us have a look at the purpose/functions the page holds.
The Purpose
HourADay application has added a new feature to authenticate and set an agreement with the contact to approve the sending of emails in the series they are subscribed to. The system automatically sends an email to the user once they complete the survey to thank him for Email Opt-in (requesting more information).
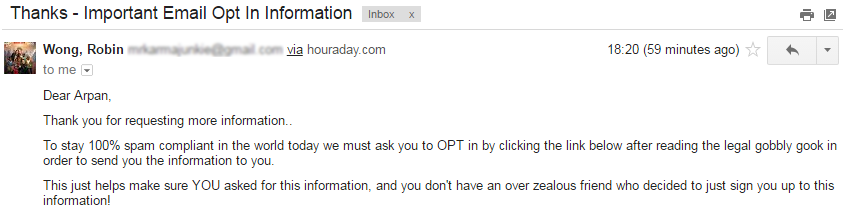
The email contains a link to verify and let the user choose his preference to receive more information, (i.e. they would be subscribed to the email series you have linked via survey based on the answers), by simply clicking on the Approve Sending Me More Information link (attached/provided with the Opt-In email).
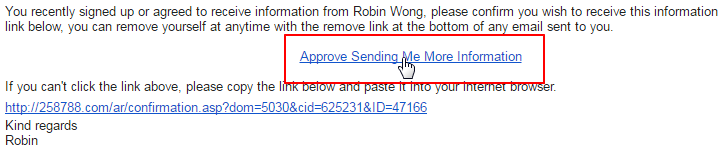
Once they click on the Approve Sending Me More Information link on the email, they will be redirected to the After Opt-in page, which would contain the acknowledgement message and other details you like to share.

Note: You may set another email to be sent after After Opt-in to thank the contact for approving the subscription.
Here are the exact steps to see all of the above on your Computer, a Mobile Browser, and via the Mobile App.
The following detailed are assuming that you have already logged into the system using your login details.
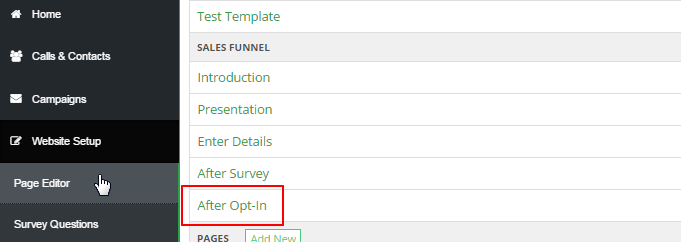
In order to go to the configuration section of your Sales Funnel, click on Website Setup > Page Editor. Then, in the Page Editor, click on the After Opt-in link under the SALES FUNNEL section. If you are already inside the sales funnel area, select the After Opt-in option from the drop-down menu in the Edit Page section at the top right.
Via Computer
Assuming that you are already inside the After Opt-in page edit interface by following the above instructions.
Step 1: Enter the basic details of the page, i.e. Title, Meta and Meta Keywords (used for search purposes).

Step 2: Design the content of the page in the editor. To see the HTML content, click on Source in the toolbar.
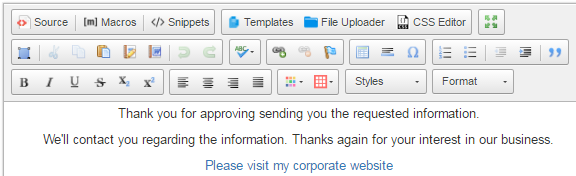
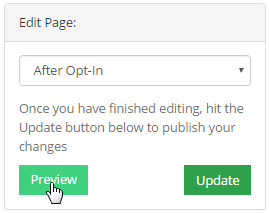
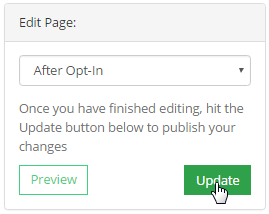
Step 3: Before you enter your data, you can monitor the edits by clicking on the Preview button in the Edit Page section (top right). Once you are done designing the page, remember to save it by clicking on the Update button.
Via Mobile Browser
Step 1: Click on the Menu (3 horizontal lines) at the top right corner and then Click Website Setup > Page Editor.
Step 2: In the Page Editor, click on the After Opt-in link under the SALES FUNNEL section to go to that page.
Step 3: Enter the basic details of the page, i.e. Title, Meta and Meta Keywords (used for search purposes).
Step 4: Design the content of the page in the editor. For HTML coding, click on Source in the toolbar.
Step 5: Before you enter your data, you can monitor the edits by clicking on the Preview button in the Edit Page section (bottom). Once you are done designing the page, remember to save it by clicking on the Update button.
Via Mobile App
Step 1: Click on the Menu (3 horizontal lines) at the top left corner and then click on Backoffice.
Note: You will then be redirected to the view that is similar to that of your Mobile Browser.
Step 2: Click on the Menu (3 horizontal lines) at the top right corner and then Click Website Setup > Page Editor.
Step 3: In the Page Editor, click on the After Opt-in link under the SALES FUNNEL section to go to that page.
Step 4: Enter the basic details of the page, i.e. Title, Meta and Meta Keywords (used for search purposes).
Step 5: Design the content of the page in the editor. For HTML coding, click on Source in the toolbar.
Step 6: Before you enter your data, you can monitor the edits by clicking on the Preview button in the Edit Page section (bottom). Once you are done designing the page, remember to save it by clicking on the Update button.
Until our Next Lesson!
Yours Truly,
HourADay Support and Training Crew
Skype: ins-support
PS: If you want to jump ahead and learn more, you can see the entire training series by clicking here: Tutorial.